Non-skid socks are increasingly popular for individuals looking for both safety and comfort. These socks offer a stable grip on slippery surfaces, making them perfect for homes with hardwood or tile floors. Creating your own non-skid socks at home combines creativity with practicality. You can personalize designs to suit your style while ensuring safety. This project is not only enjoyable but also simple to undertake, even for beginners. Immerse yourself in this creative activity and relish the satisfaction of crafting something both functional and fashionable!
Materials Needed for Non-Skid Socks
Essential Materials for Non-Skid Socks
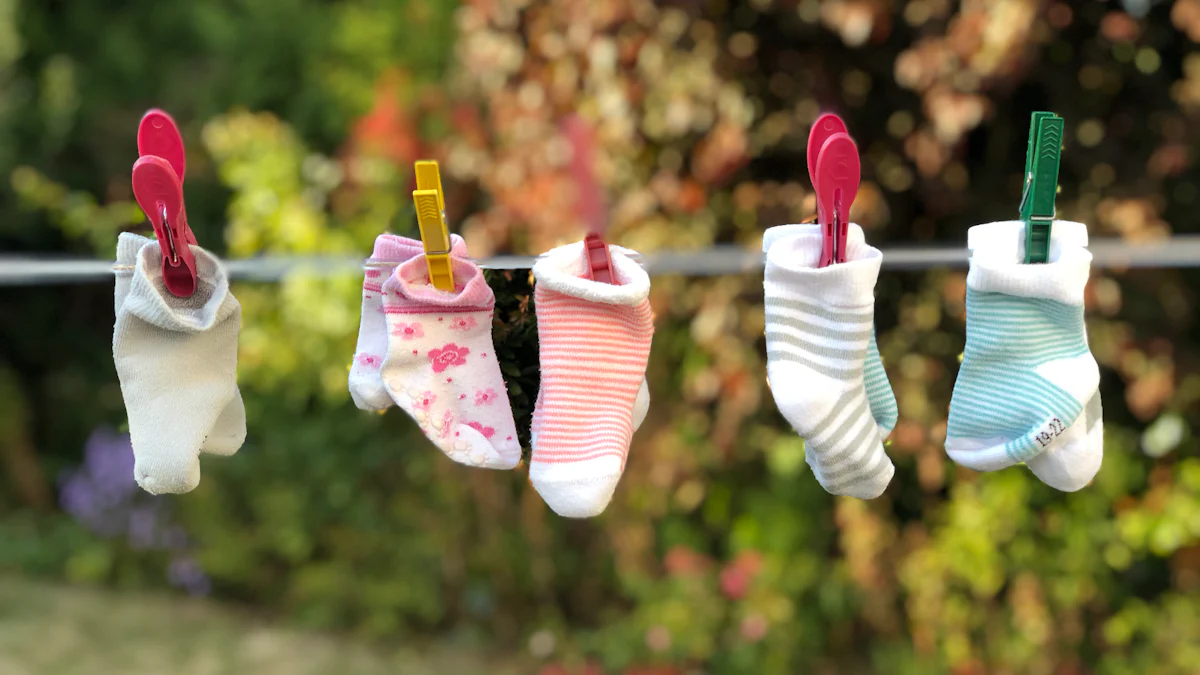
Socks
Start with a comfy pair of socks. Choose thicker socks for better grip. Thicker socks hold the paint well and provide warmth. Pick your favorite color or pattern to make the project more fun.
Fabric Paint or Puffy Paint
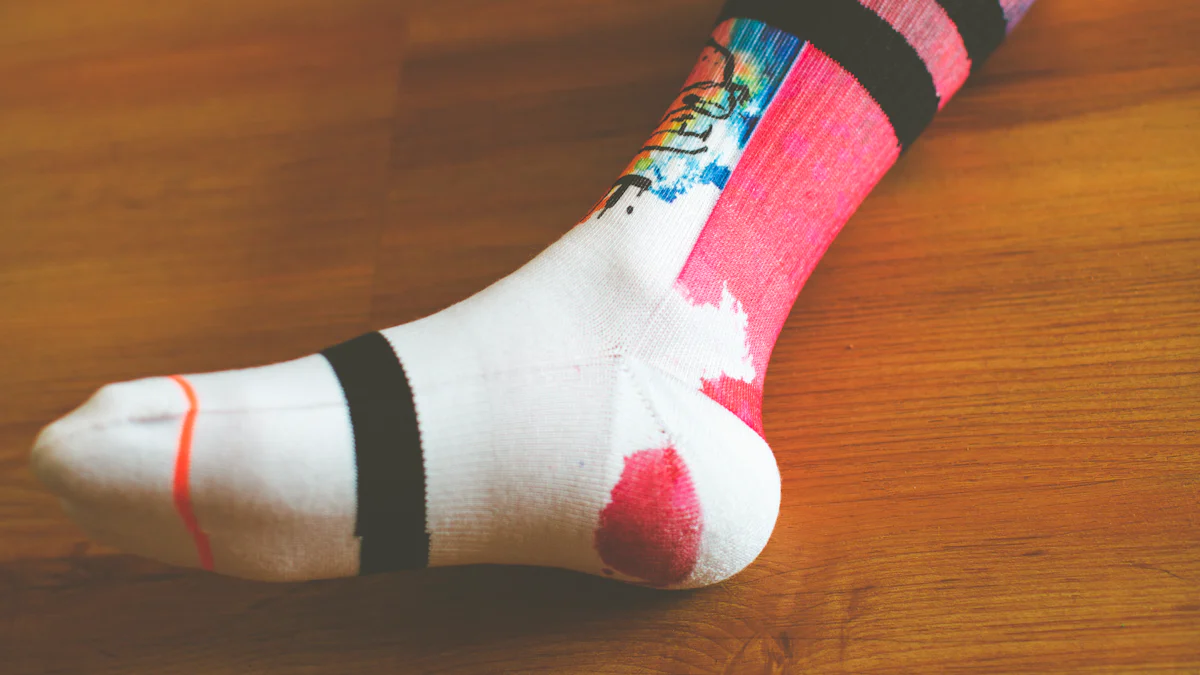
Grab some fabric paint or puffy paint. These paints create a textured surface that prevents slipping. Viva Decor ABS Sock Stop offers a great option. This paint works on cotton, synthetic, and wool materials. It dries quickly and is machine washable. The paint comes in colors like Transparent, White, Grey, and Black.
Paintbrushes or Applicators
Use paintbrushes or applicators to apply the paint. Small brushes work best for detailed designs. Applicators help spread the paint evenly. Keep a few different sizes handy for various patterns.
Optional Materials
Stencils for Designs
Stencils add flair to your socks. Use stencils to create shapes or patterns. Hearts, stars, and circles are popular choices. Stencils make it easy to achieve a professional look.
Glitter or Embellishments
Add glitter or embellishments for extra sparkle. Glitter gives socks a fun, festive touch. Apply embellishments like small beads or sequins for a unique design. Make sure to secure them well so they stay put.
Protective Covering for Work Area
Protect your workspace with a covering. Use newspaper or an old tablecloth. This keeps surfaces clean and free from paint spills. A tidy area makes crafting more enjoyable.
Gather these materials and get ready to create your own non-skid socks. Enjoy the process and let your creativity shine!
Preparing Your Workspace
Setting Up
Choosing a Suitable Work Area
Find a cozy spot in your home for crafting. A dining table or a desk works great. Make sure the area has good lighting so you can see your designs clearly. A well-lit space helps avoid mistakes and keeps the creative juices flowing.
Gathering All Materials
Before starting, gather all materials needed for the project. Lay out socks, paints, brushes, and any optional items like stencils or glitter. Having everything ready makes the process smoother and more enjoyable. A little preparation goes a long way in crafting success.
Safety Precautions
Protecting Surfaces
Cover the work area with old newspapers or a plastic sheet. This protects surfaces from paint spills and keeps the area tidy. A clean workspace helps focus on creativity without worrying about messes.
Ensuring Proper Ventilation
Open a window or use a fan to ensure proper ventilation. Paints can have strong odors, and fresh air keeps the environment pleasant. A well-ventilated space ensures a safe and enjoyable crafting experience.
Step-by-Step Instructions for Non-Skid Socks
Designing Your Non-Skid Socks
Choosing a Design
Pick a design that speaks to your style. Simple shapes like dots or lines work well for non skid socks. Complex patterns can also add flair. Consider the sock color and how the design will stand out. A bold design can make your non skid socks unique and fun.
Sketching the Design on Paper
Grab a piece of paper and sketch your chosen design. This step helps visualize the final look. A sketch guides you when applying paint to the socks. Use a pencil for easy adjustments. A clear sketch makes the painting process smoother.
Applying the Non-Skid Paint
Preparing the Paint
Prepare your paint before starting. Shake the bottle to mix the contents well. Pour a small amount onto a palette or dish. Use a brush or applicator to test the paint’s consistency. Proper preparation ensures even application on your non skid socks.
Applying the Paint to the Socks
Lay the socks flat on your workspace. Use cardboard inserts to keep the socks in shape. Apply the paint following your sketch. Start with small amounts to avoid excess. Ensure the paint covers the desired area for effective grip. Even application creates durable non skid socks.
Allowing the Paint to Dry
Let the paint dry completely. Place the socks in a well-ventilated area. Avoid touching the painted surface during drying. Check the paint after a few hours. Fully dried paint ensures the non skid socks are ready for use.
Final Touches
Adding Embellishments
Add embellishments for extra charm. Small beads or sequins can enhance the design. Secure embellishments with fabric glue. Ensure they adhere well to the non skid socks. Embellishments add a personal touch to your creation.
Ensuring the Paint is Fully Set
Double-check that the paint is fully set. Gently press the painted area to test. If the paint feels tacky, allow more drying time. Fully set paint provides the best grip. Properly set paint ensures your non skid socks are safe and stylish.
Creative Ideas and Variations

Customizing Designs
Using Different Colors
Unleash your inner artist by playing with a rainbow of colors. You can transform plain socks into vibrant masterpieces. Try mixing and matching hues to create eye-catching patterns. Bright colors can make your non-skid socks pop, while pastels offer a softer look. Experiment with different shades to find the perfect combination for your style. Each color choice adds a unique touch to your creation.
Creating Themed Socks
Themes bring an extra layer of fun to your sock designs. Consider creating socks that match the seasons or holidays. For winter, use snowflakes and reindeer. Spring calls for flowers and bunnies. You can even make socks themed around your favorite movies or hobbies. Themed socks make great conversation starters and add personality to your wardrobe. Let your imagination run wild and craft socks that tell a story.
Exploring Other Projects
Making Matching Accessories
Why stop at socks? Extend your creativity to matching accessories. Create headbands or wristbands using the same techniques. Use leftover paint to design coordinating pieces. These accessories can complete your look and showcase your artistic flair. Matching sets also make thoughtful gifts for friends and family. Crafting accessories lets you explore new ideas and expand your DIY skills.
Crafting Non-Skid Socks as Gifts
Non-skid socks make fantastic gifts for loved ones. Personalize each pair to suit the recipient’s taste. Choose colors and designs that reflect their personality. Handmade gifts show thoughtfulness and care. You can even package them in a cute box with a handwritten note. Giving non-skid socks as gifts spreads joy and warmth. Your creations will be cherished and appreciated by all who receive them.
Creating non-skid socks at home offers a fun and practical project. The process is simple and lets you express creativity. You gain stylish socks with added safety benefits. Try different designs and colors to make unique pairs. Experimentation leads to exciting results. Share your creations with friends or on social media. Feedback helps improve future projects. Enjoy the satisfaction of crafting something useful and beautiful.